UT3: Refractions / Distortions
This tutorial will go through how to create a window type material that distorts the image viewed on the other side of the geometry. This can be applied to windows of buildings, a characters cracked screen, a snipers scope, etc.
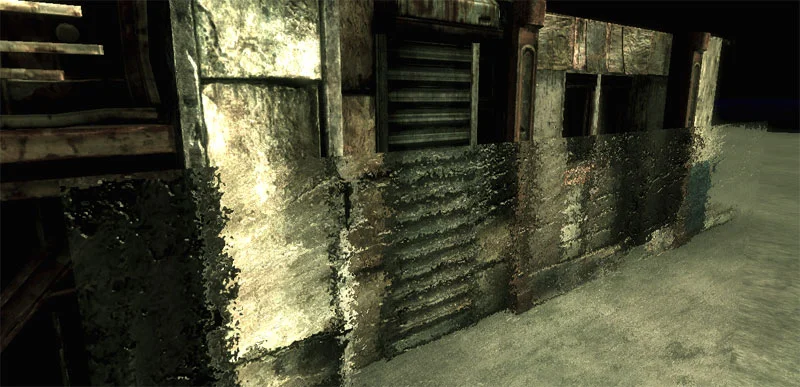
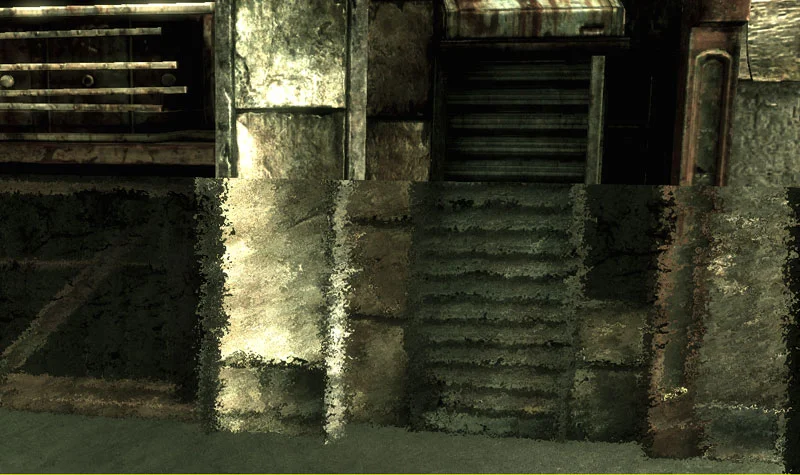
First, create a place with some UV's for the window material to be applied to. If you want to create the place using a bsp material, it works as well.
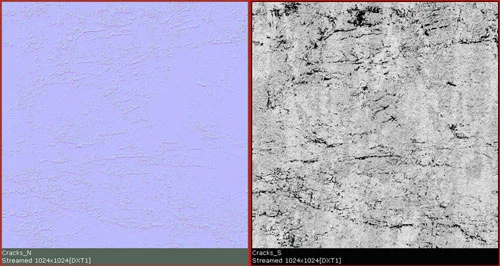
Secondly, you need textures to apply to this material. For the distortion itself, you do not need a normal map to make it work. The distortion does not change the normals of the polygon surface, but rather it pushes the colors on the other side based on a black and white value.
For this example, I used only two textures; a black and white spec map to add color variation and to drive the distortion, and a normal map to push the surface of the geometry so the spec has something to work with when the light shines on the surface.
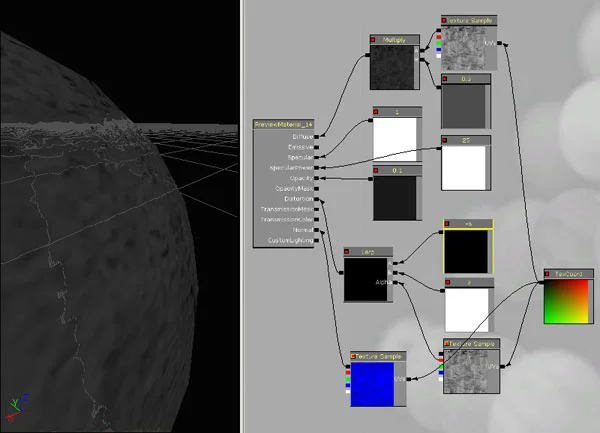
Everything to create this effect is through the material.
There is one 'coordinate' node linked into the textures used for the diffuse, normal map and distortion.
The diffuse has a multiply to lower the brightness of the glass.
The spec is just a constant set to 1.
Specular Power is set to 25 to add a sharper spec.
Opacity is set to 0.1 for a very transparent glass look. (You could use the spec texture here to add variation)
The normal map is just plugged into the normal slot, nothing special here.
The distortion 'black and white' texture has its red channel connected to the alpha of a lerp. The channel A of the lerp has a constant with the value of -5 plugged into it, and the channel B has a constant with the value of 2.
This is the distortion with the constants set to 0 and 1.
This is the distortion with the constants set to 0 and 1.
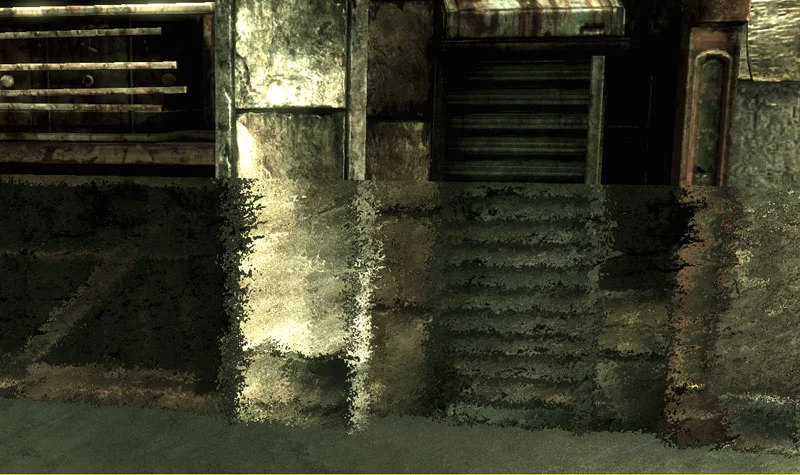
This image has the constant values of the distortion set to 0 and 5. As you can see, the angle at which it distorts changes as well as a solid black strip along the right side of the screen appears. Because of this, the constant value should not go too high, or screen bleeding will occur. Lower is better.

As you can see from the image to your left, the distortion completely changes direction.
Combining different greyscale images and even animating them can give some interesting results. You can use this for everything from running water down windows (alpha out the areas you want to be clear water, and the areas you want to have running water on them), distortion through water itself, broken screens for a first person shooter, car glass, etc.
I strongly encourage you to experiment with the different options within the material editor; it is one of the strongest aspects of the UT3 engine.
I hope this little tutorial has helped you out. i thank you for your time.