UDK – Unreal Development Kit
::: Advanced Vertex Painting :::

Click here for Youtube link.
Here is a video to show the functionality of the shader in relation to the painting of the geometrys' vertex'. enjoy.
Vertex painting can be a powerful thing, but a large piece of what makes it powerful is the material you create.
A vertex blend between two different textures is common knowledge, but if you’re un-sure about how to set this up, here is a very quick tutorial on the basics. This is essential knowledge for making this material. I will start at the most basic and work my way up explaining what every node does to make the final version of this material work.
First we will need a shader. This image is a VERY basic representation of what a vertex shader may look like.
What this does is the ‘vertex color’ (red) controls which texture is visible based on the Lerp.
A Lerp node has 3 inputs and one output. The inputs are channel A, channel B and Alpha. The alpha is where you will plug in black and white variable (either a red, green, blue or fully desaturated texture). The black value of this texture represents channel A, and the white value represents channel B. What this means is whatever vertex has a red vertex value of 100% (fully white) you will get a texture plugged into channel B, but the more you paint this value so the red vertex is closer to a value of 0% (fully black) the more of the texture plugged into channel A will appear.
Every single object you import into the scene will have a default value of 100% white for all the red, green and blue vertex colors, so by default, if you want a certain texture to show up first, make sure that is plugged into channel B of the lerp.
Now, you will need 3 lerps, and the images plugged into them should match. Usually, you have a diffuse, specular and normal map texture, so in the image above, i have a lerp for each one of these. There is a wall texture plugged into channel B; Likewise, there should be a Lerp with the spec of the wall texture plugged into channel B and the same goes for the normal map. The brick will be painted in, so that should be plugged into channel A of the lerp along with the matching specs and normal maps. Make sure you have the red vertex color plugged into the alpha of each of these lerps.
And there you go, a functioning vertex shader. Now, lets see it on a model.
First, the model needs a bit of extra geometry than usual. Typically, anything in unreal that is less than 500 polys isn’t much of a performance hit the lower you go, so adding a bit of geometry to support this shader isn’t usually a big issue. Lets take this geometry for example.
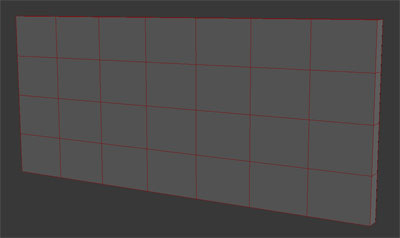
With this model there are 28 polys on one side instead of the typical 1 poly. Without this extra geometry, you won’t have any verts to paint, so they are required.
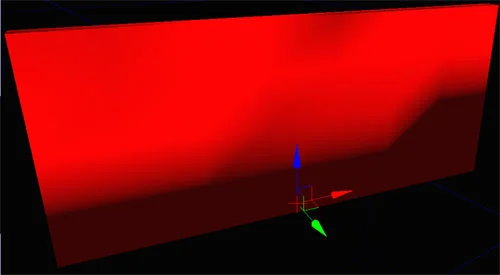
This screen shot is here to show the model in the engine and the vertex’ that are painted. Bright red represents 100% red vertex value for the red channel, the darket it gets, the closer it becomes to 100% black.
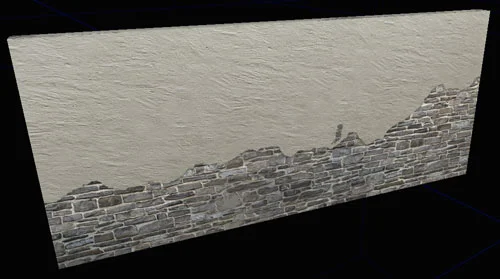
This is the same geometry with the same vertex painted values with the shader we just made.
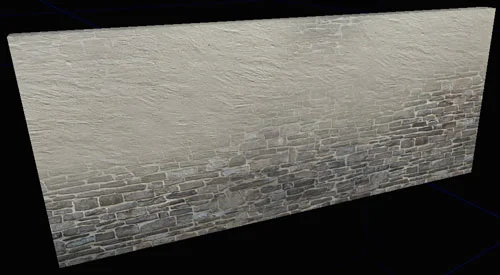
As you can see, it’s not the best result, no where near what I want it to be. What this needs is variation. To get this variation, i will be adding a ‘vertex variation’ shader setup i covered in another tutorial. I will go over it again since it has been changed slightly from my last tutorial which covered it.
This is where it gets a little more ‘advanced’. Regardless, if you follow the instructions closely, you should achieve the same results.
First we need a ‘cloud’ texture which is as easy as pressing a button in photoshop. Under the filter menu, select ‘Render’ and ‘Clouds’. This will create a repeating texture based on the two colors you have available for painting on the left handed menu. Make sure you have 100% black and 100% white so there will be no confusion.
Normally, ‘filters’ are not the best thing to use for realistic textures, but in this example, it is being used as a mask, so it will work just fine. Usually i create 3 different versions of clouds and put them in a single texture, since we will be plugging this into the lerps, we only need a black and white value which is what any red, green or blue value are. This is what the texture will look like.
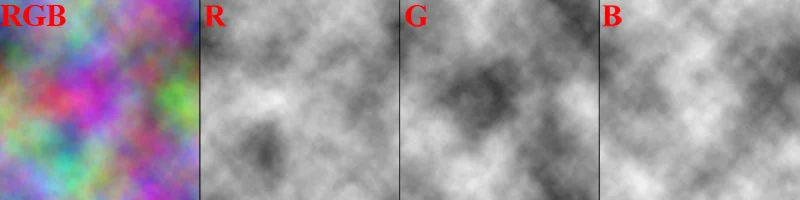
Only one of these textures needs to be used.
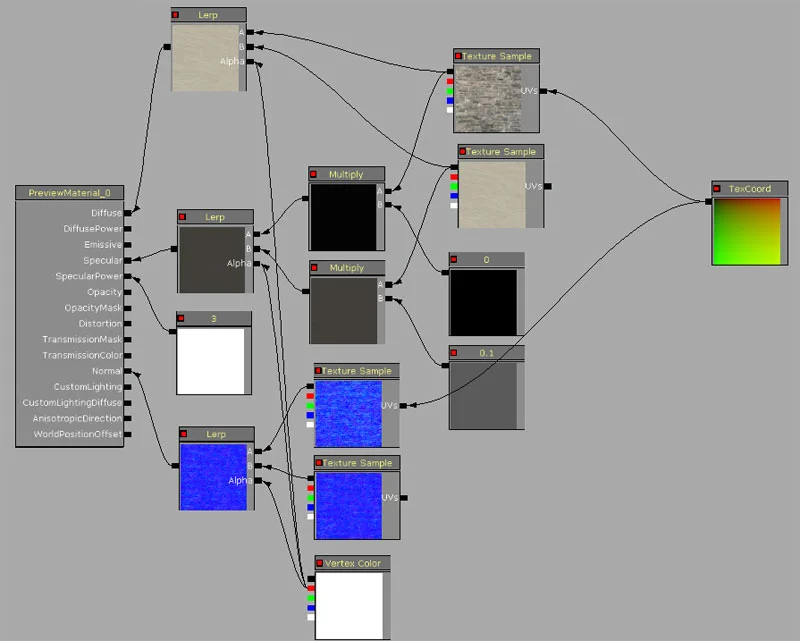
This is what the final version of the shader looks like.
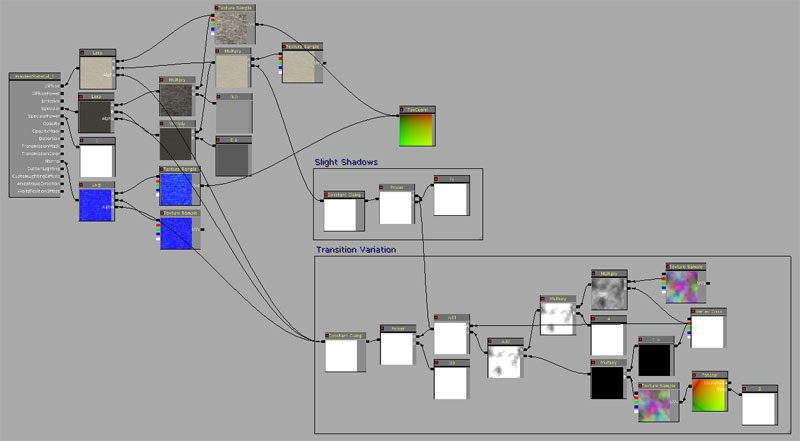
The main addition to this shader is on the bottom right side. Here is a close up of just that section.
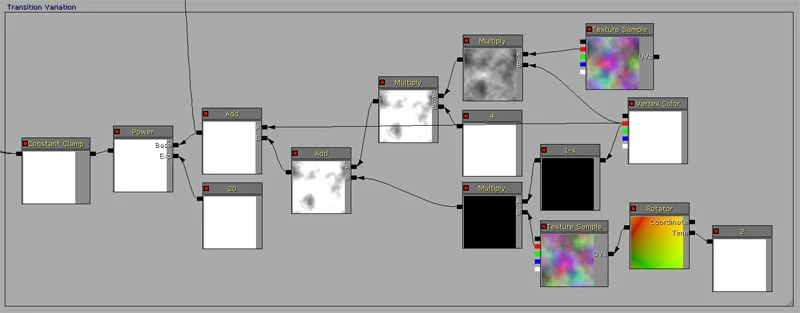
Lets break this down, shall we.
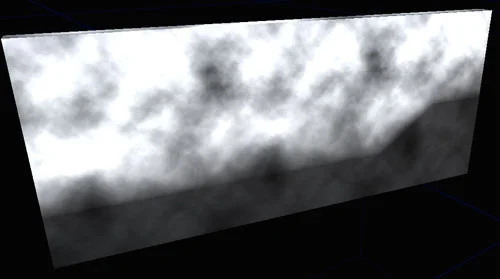
First, we need to bring in the texture located on the top right and multiply this by the vertex color.
If i show this ‘multiply’ plugged into the diffuse, this is the result we got. This will help better understand what this shader is actually doing.
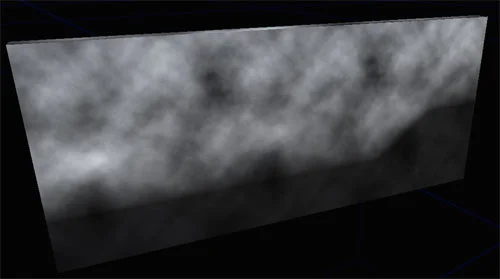
Where the vertex is 100% red, the ‘cloud’ texture remains the same, however where it is painted closer to 100% black, it gets darker.
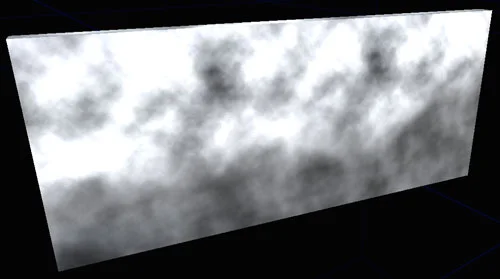
Next we need to multiply this by a constant variable of 4 so the white areas are much whiter than before. If you paint the black areas closer to black, since we are multiplying, the black areas will remain black.
This is what that change will look like.
Since we are using the ‘multiply’ variables, we will need to invert the values coming out of the ‘vertex color’ node for this next part. With the original ‘vertex color’ node, you need to plug that into a ‘OneMinus’ variable. This will flip the black and white values. To add a different variation to this, we need to ‘rotate’ the texture; Because of this we will need to duplicate the original cloud texture, create a ‘rotator’ node and add a ‘constant’ variable with a setting of 2 plugged into the ‘time’ variable.
This is what that change will look like.

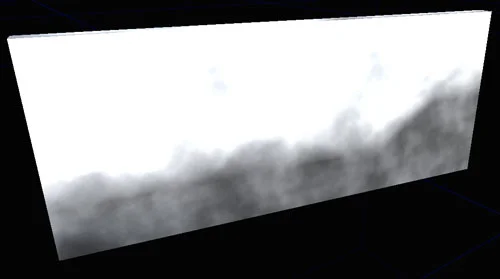
YES! It looks ugly, but lets ‘add’ this with the original step, and this is what you’ll get.
Again, ugly, but there’s more. We then need to ‘add’ the original vertex color to this.
This is what that change will look like.
We then need to insert this into a ‘power’ node with an exponent of 20. This is then ‘clamped’ so you are only left with 100% white and 100% black.
This is what that change will look like.
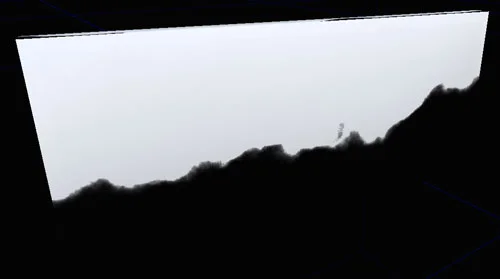
THERE we go. THAT’S what we want..... This is what will be inserted into the ‘alpha’ of the lerps in place of the ‘vertex colors’ covered earlier.
We then need to duplicate the ‘constant clamp’ ‘power’ and ‘constant’. Have them set up in the same way, but change the ‘constant’ to 75. You then need to create a ‘multiply’ node and plug in the ‘wall’ texture the recently duplicated ‘constant clamp’ node into either of the A or B channel of the multiply. This multiply will then plug into channel B of the diffuse lerp node.
I know in word format this can be confusing, but if you refer back to the original shader screen shot, it will help.
This is what that change will look like.
THERE ya go. The shader’s complete. You can do more by painting in burned marks, grime, whatever else. Use different vertex colors connected into different lerps either placed before or after the existing lerps to control dirt, grimes or scratches.
I hope this little tutorial has helped you out. i thank you for your time.