UDK – Unreal Development Kit
::: Lightmass / Global Illumination :::
This tutorial will cover some basics for getting you started with global illumination based around the 'world Properties' and the 'light option' sections. I strongly recommend you read Epics 'new features' located here.
http://udn.epicgames.com/Three/DevelopmentKitBuildUpgradeNotes.html
Lightmass information can be found at this site
http://udn.epicgames.com/Three/Lightmass.html
Lightmass/Global Illumination:
This will simply be a visual representation of where to change the settings, and what different values give you visually.
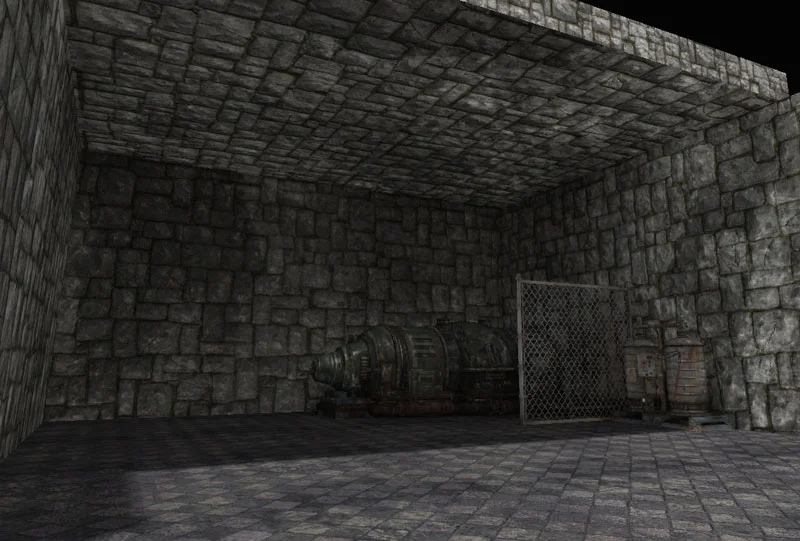
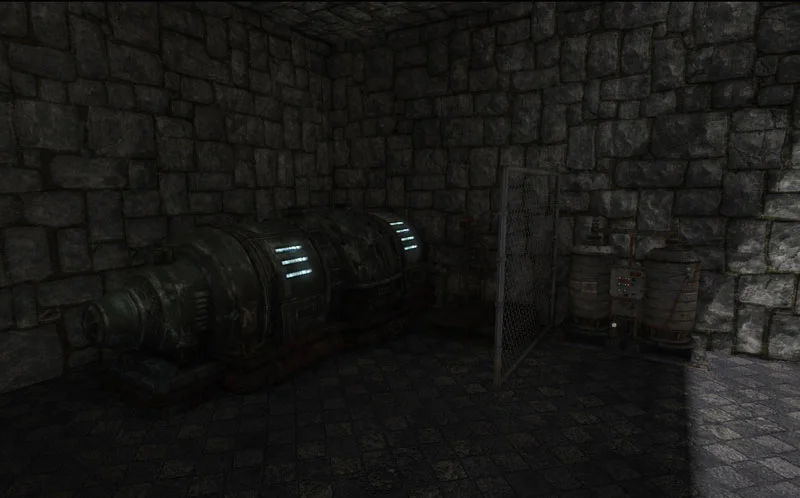
The scene below is very simple with 3 BSP's for the floor and two walls, and a few assets placed around the scene. In this scene is a single directional light with a default value and color.
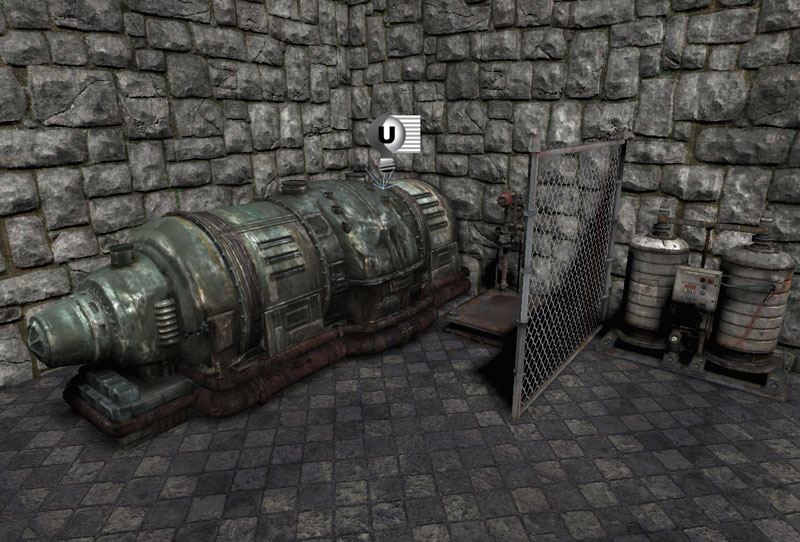
You can see a few issues with this already. There is no 'bounce' light, so everything that falls in shadows is black, including the transparent fence.
You can see a few issues with this already. There is no 'bounce' light, so everything that falls in shadows is black, including the transparent fence.
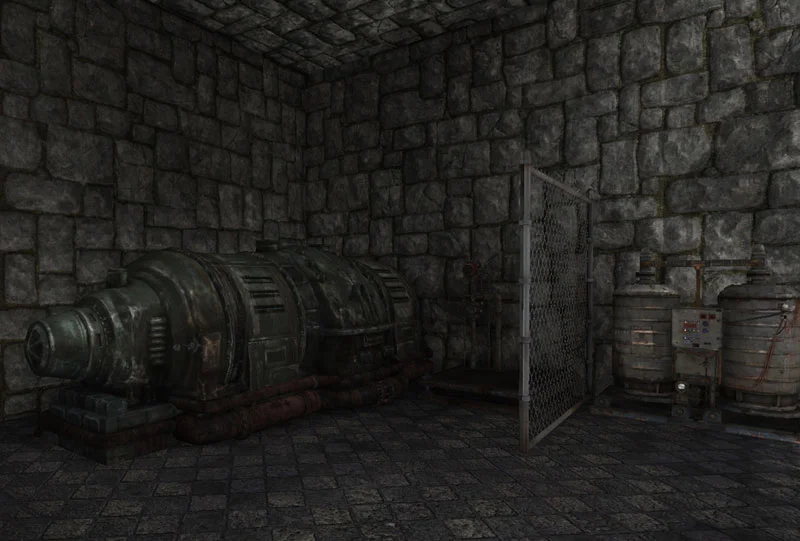
With this simple check box, this is the visual difference it gives you.
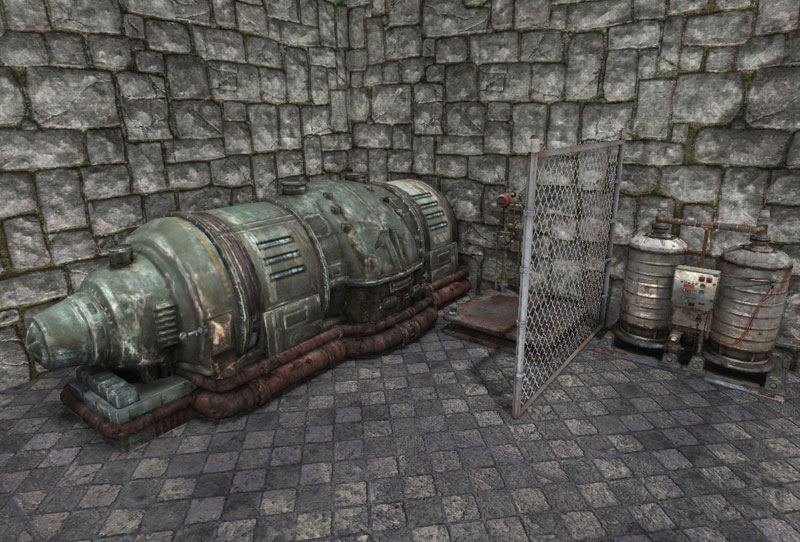
As you can see, it lightens up some dark areas which is nice, but it flattens the entire scene. Normal map details on the walls are the most noticeable 'hit' visually speaking. This is mainly because this is a 'global' lighting effect. It depends on how covered something is. If I pull the camera back, you will see that there is no roof, nor is there a third wall to the left.
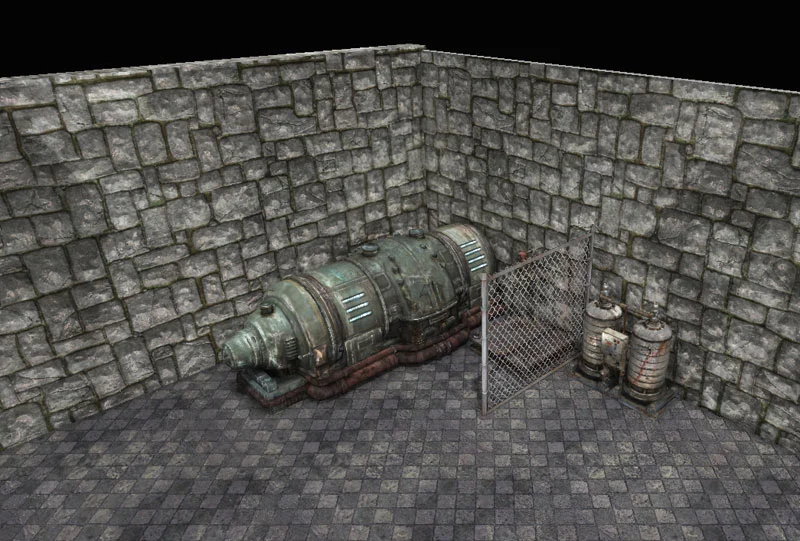
If I place a 'roof' into the scene as well as a third wall, let’s see how this turns out. Remember that i am using a directional light, so the roof will be blocking the light.
This is a distant shot to show the full lay out of this corner. Let’s take a closer look.
For comparison, here is the same shot without 'global illumination' enabled.
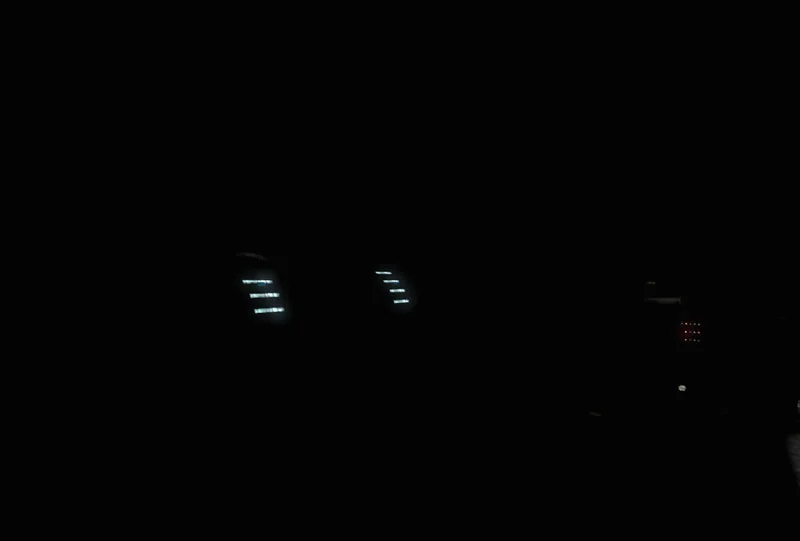
All you can see is emissive materials and a hint of light on the bottom right corner.
What this scene would need in any previous version of unreal is a 'fill' light to give the illusion of global illumination. That being said, the global illumination we saw prior to this sort of washes out the image a bit. This can be fixed by tweaking the values such as the bounces, the color and the intensity.
Let’s take a look at some of these settings and their corresponding results.
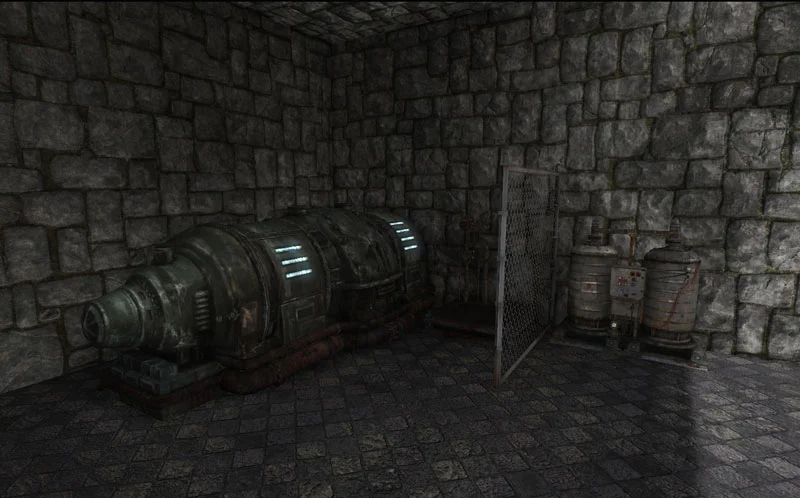
Let’s start again with the 'default' settings once it is enabled.
When you go outside, most of the light you see is from the sun, however the tint comes from the world around you, mostly the blue sky, that's why some shadows have a blue tint to it on a sunny day. By changing the 'environment' color, you change the value the shadows pick up.
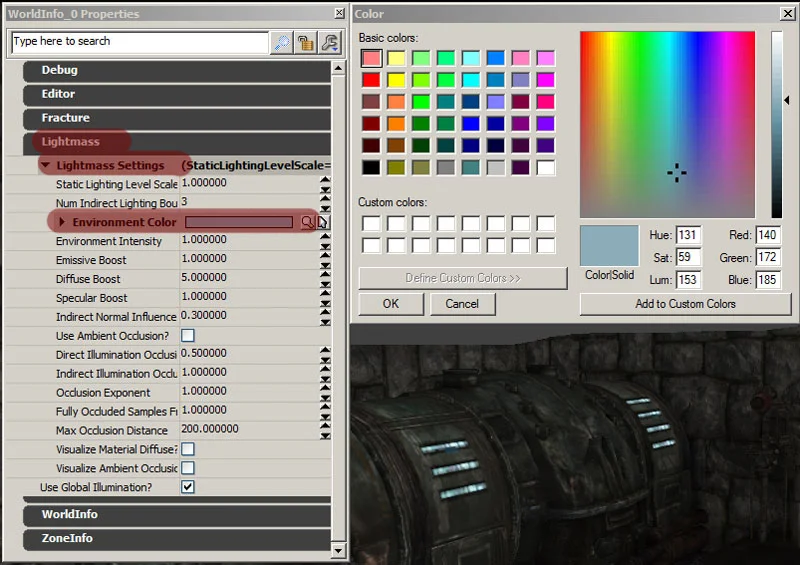
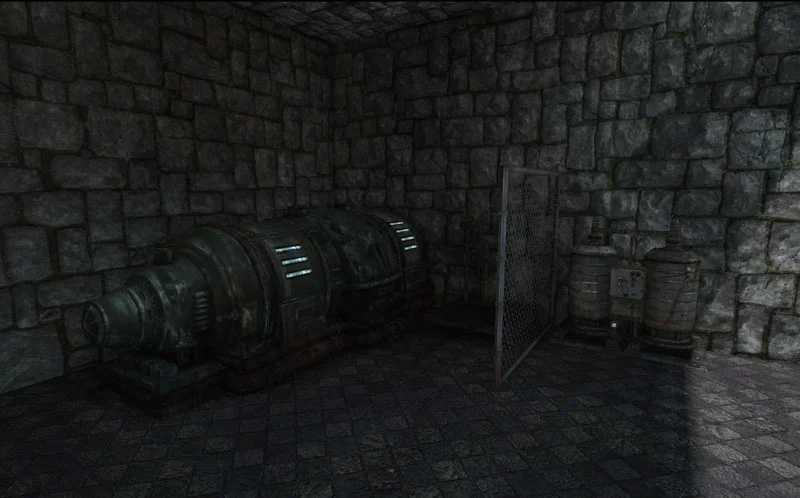
Do note that this also changes the color of the light slightly as well. Everything is connected.
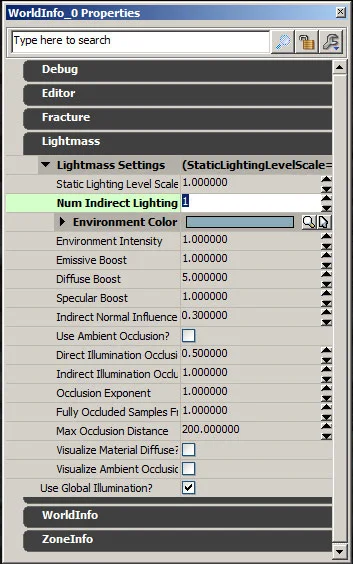
The next thing we'll look into is the 'num indirect lighting', or better known as the amount of times the light bounces.
To illustrate this best I can, I will provide the two extremes, a bounce of 1 and a bounce of 4. The reason why I am not showing the in-betweens is because the change is so little. Below these two images is another with the breakdown of 3 sections of the images with a bounce of 1, 2, 3 and 4 from left to right.
If you set the value to 0, it is the same as turning it off completely.

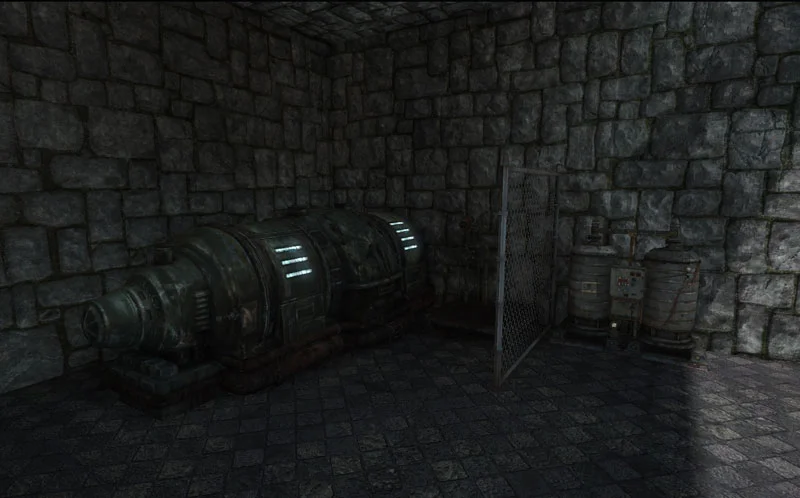
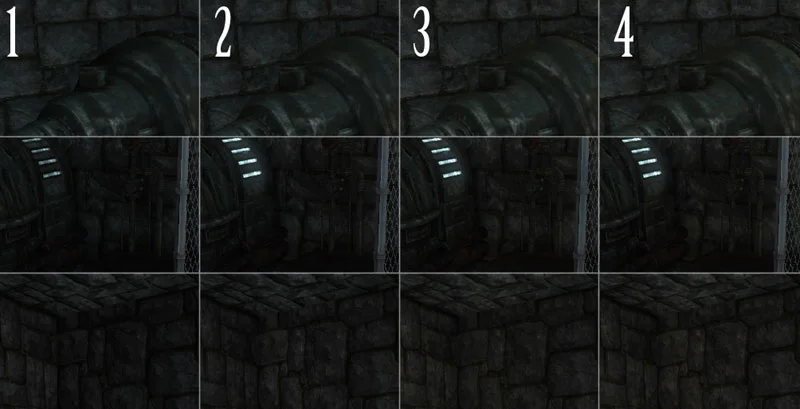
Even though it may be hard to see, the effects are there. What this function does is the light bounces off geometry and lights the rest of the room accordingly. The bounce light is very subtle however, so the dark areas are only slightly lighter.
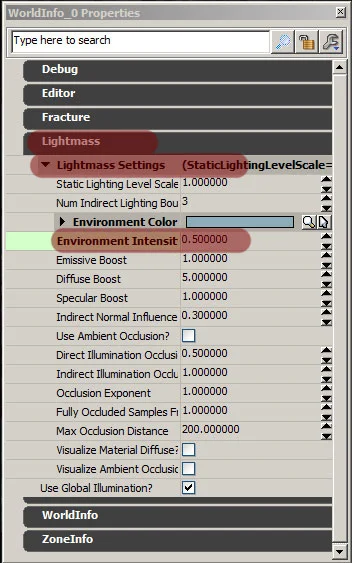
The next section is the 'environment intensity'. This by default is 1, but the higher you make it, the lighter the scene becomes. Likewise, the lower you make it, the darker the scene becomes.
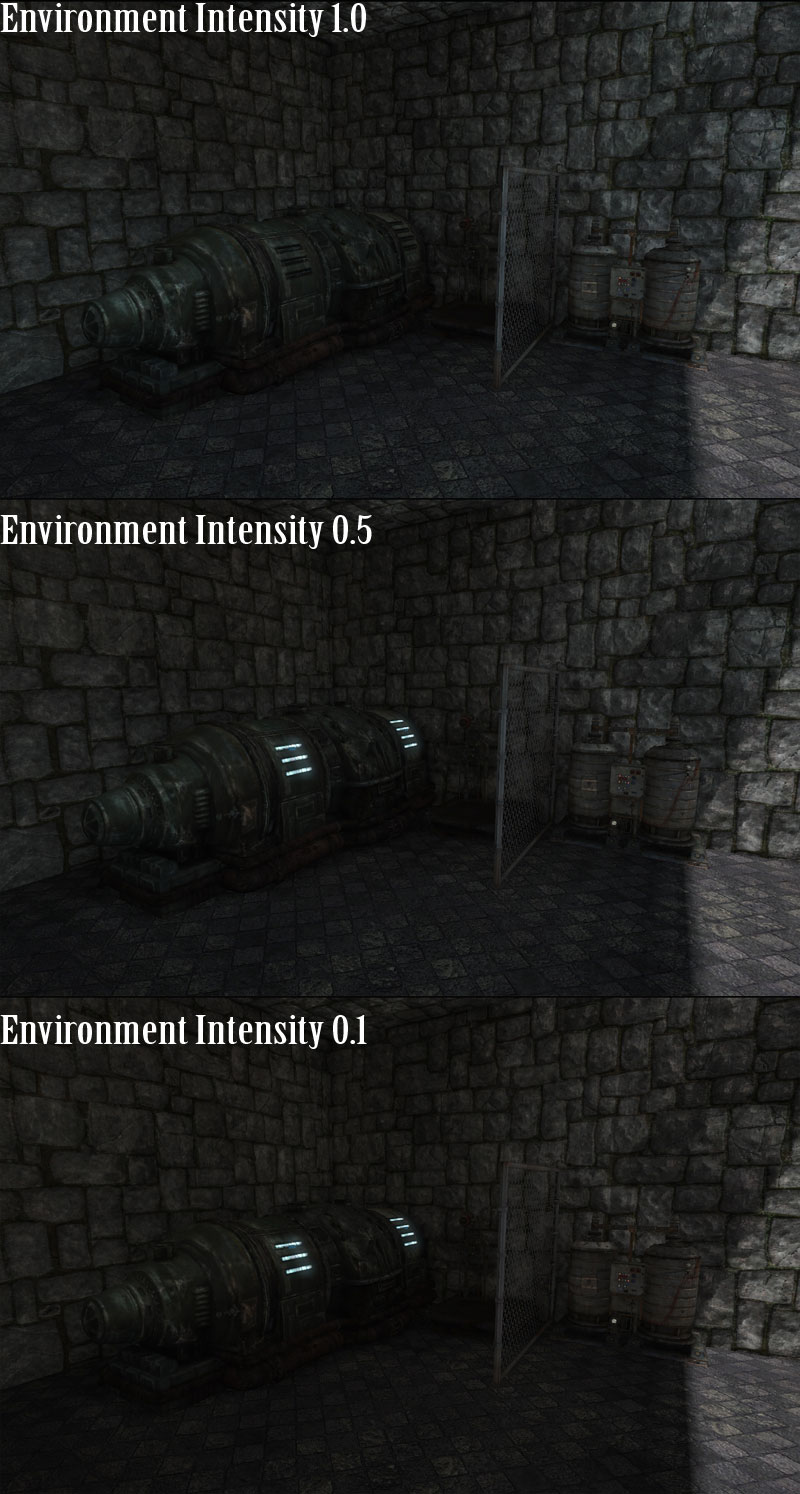
The effects are subtle, but they are all relevant to achieve the look and feel you are aiming for.
We will skip down just slightly and take a look at “Indirect Normal Influence”. By default this value is set to 0.3, and this is the result you get.
However when we bump this value up to 0.8, we get a much more dramatic result.

This is a small value tweak, but a big visual change. Too high and you lose the believability of the scene, too low and everything can appear flat, so finding the right value with this is important.
Diffuse boost simply amplifies the scenes diffuse map. Very straight forward. This does affect fully lit areas as well as shaded areas.
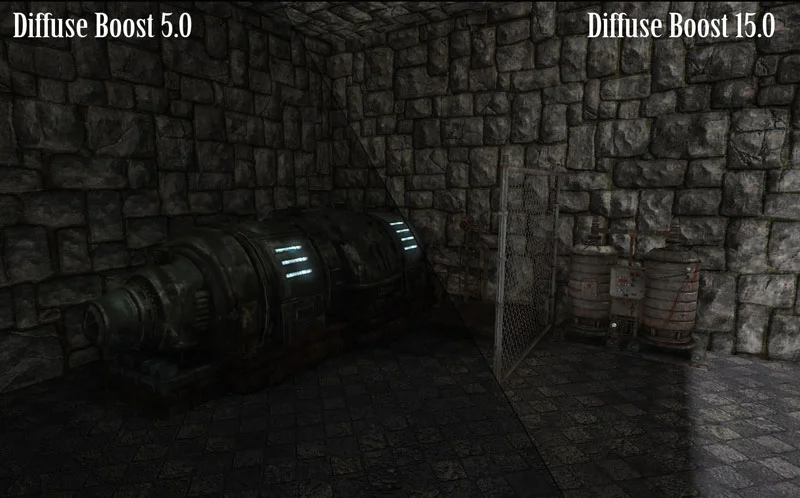
Likewise, 'Specular Boost does the same thing.
Light Lightmass Settings:
Everything up to this point has dealt with the settings within “World Properties” but the light sources themselves have 'Light Mass' settings. Below is a scene with the same directional as shown above but with a value of 0.1 and a point light with a green hue and value of 1.0.
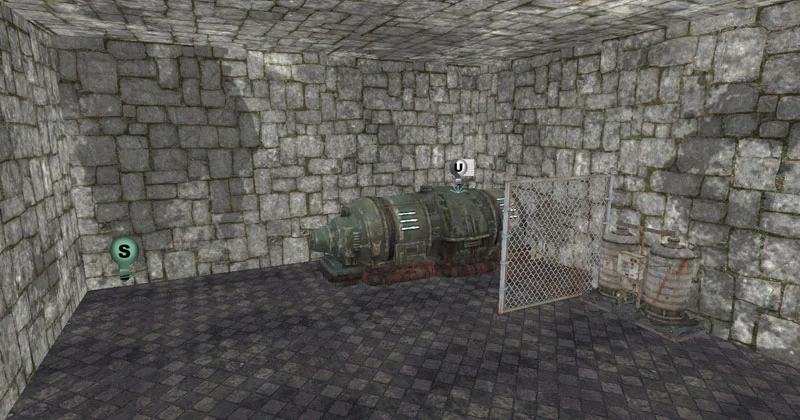
This is here to show the light placement.
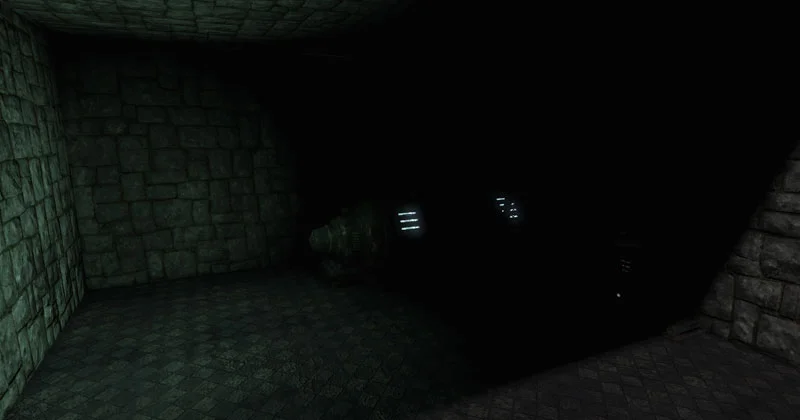
This scene had its lighting baked with the 'Global Illumination' settings turned off in the 'World Preferences'. This is the result you would normally get out of UT3, but if we turn the 'Global Illumination' back on, we get this.
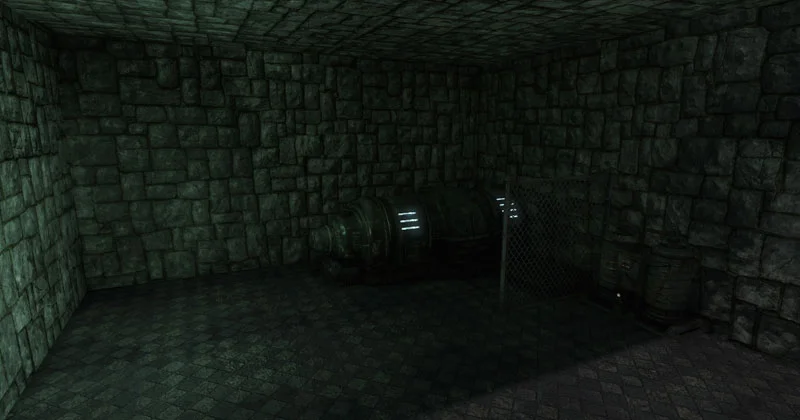
The edge of the light in the first image is the edge of the 512 light radios, but as you can see here, the green light value continues throughout the scene giving a much more natural look and feel.
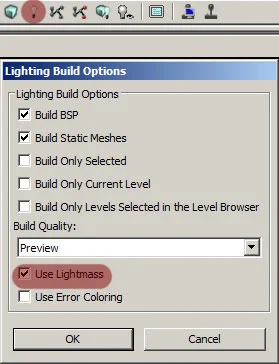
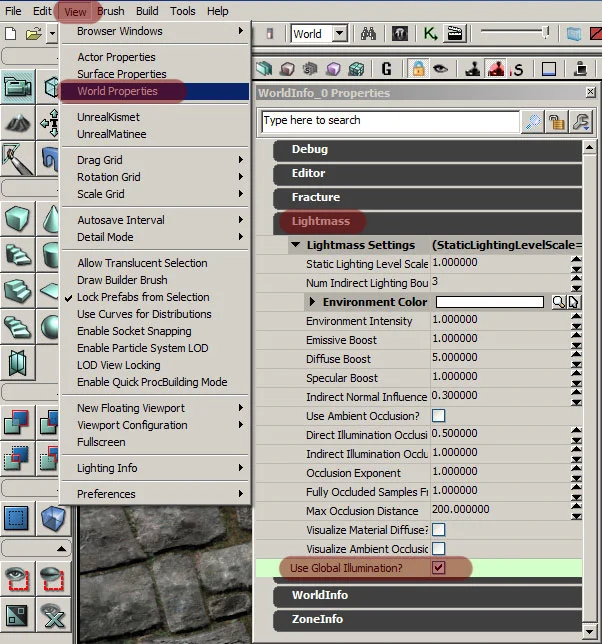
Instead of going into the 'World Properties' to turn on the 'LightMass' setting, if you click on the 'Build Lighting' button, the option to bake it with lightmass will be there, simply turn it on, and you're set.
You may have noticed that unreal does not deal with Vertex Lighting by default; rather everything is set to lightmap. Vertex lighting is still possible, but it requires you to change the settings for each mesh.
Inside the options for your lights, there is an area called “Light Mass” which is where the:
* Indirect Lighting Saturation: How much the light loses as it bounces around the level
* Indirect Lighting Scale: the strength of the light itself, similar to changing the light strength
* Light Source Radius: This controls the yellow ring which represents the 'source' of the light. In real life, not a single point is a source of light. Even the sun has a HUGE amount of light coming from all around it, but it is so far away and it appears so small that the shadows are almost parallel to one another. (Broader light base location instead of a single point)
* Shadow Exponent: This tweaks the gradient fall off of the shadows.
The image below illustrates how 'Shadow Exponent' affects your scene.

Each time you bake the scene, you will see an error message reading “No importance volume found”.
An “Importance volume” is a volume created using the 'brush' tool that instructs the engine where the most light detail should be baked too. Distant objects are of course less important (outside of game play area) so they can be outside of an 'important' volume.
Higher Resolution Shadow Baking:
Lastly, I will address the issue of 'blobby shadows'. Most of the screen shots you have seen in this tutorial have blobby, non realistic shadows. The reason for this is because the 'light baking' setting was set to preview to help speed up this process. Once you have an environment you are happy with, increase this setting to get a much smoother, much more natural looking image.
Where you change this value is shown in the image below. Right click on it and you will receive 4 options. Preview, Medium, High and Production. All the images you see above are using 'preview', but the image below shows the difference between Preview and Production settings.

I hope this little tutorial has helpd you out. i thank you for your time.