UT3: Vertex lighting tweaks for individual assets
Some of the models that you import into the Unreal Engine will have slight lighting issues. If you click on the object with the shading issue and press F4 button on your keyboard, the assets properties will appear.
The main options that we will be focusing on here are located under the
'StaticMeshActor / StaticMeshComponent / AdvancedLighting' section.
bUseSubDivisions: Defaults to True. If this is false, none of the other Advanced Lighting options will have an effect.
MaxSubDivisions: Specifies the maximum number of Subdivisions that will be traced when building lighting for a static mesh.
MinSubDivisions: Specifies the minimum number of subdivisions that will be traced when building lighting for a static mesh.
SubDivisionStepSize: The amount of subdivisions used is biased by the size of the mesh (or rather, distance between vertices). This sets the step size in unreal units for lighting traces. By default, the step size is 16, so a very small mesh will be clamped by the MinSubDivisions, and a very large mesh will subdivide to the amount specified by MaxSubDivisions.
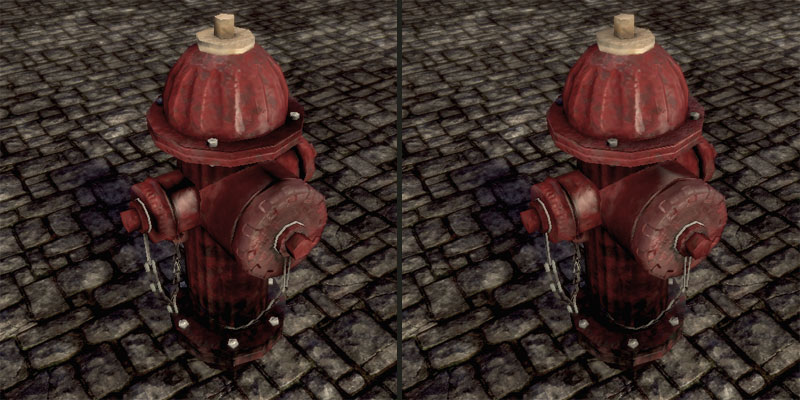
For right now we will just focus on the 'SubDivisionStepSize'. With this option alone, you can fix a lot of your visual issues. In the images to the left, as we lower this number from 16 to 4, and then to 1, you can see the detail of the mesh is softened and the lighting detail is averaged more through the entire mesh. This setting applies to the object you set it on; this is not a global change.
Note that as you change these settings, baking time will change slightly. With a scene this small it is not noticeable, however if you do this to every single asset in your level, it will become quite apparent early on.
Also note that this does not substitute a fix for a bad model. If the modeling is incorrect, the 'SubDivisionStepSize' size will do little in helping the overall appearance of the model.
I hope this little tutorial has helped you out. i thank you for your time.


